Real Time Prediction Examples
Steps to create and use an API
- Go to OneNine Platform
- Click on Real Time Predictions in the sidebar
- Find the project to which the API has to be created
- Click on Create API button against the desired project in the API Actions column.
- A few seconds later, a pop up will appear which will display the API key necessary to access the API. You can use this API key to later integrate this API in your environment. Click on OK to continue.
Caution
This key is important to access the API in future. Hence please do not share it with anyone.
- You can now see the status column changing from Offline to Online. Now click on the Use API button.
- The Use API button will take you to the API page where you can see the API key and a few important results of the model at the beginning. Below that, you will be able to see two tabs called
Predict via APIandPredict via Web.

- Predict via Web
- Predict via API
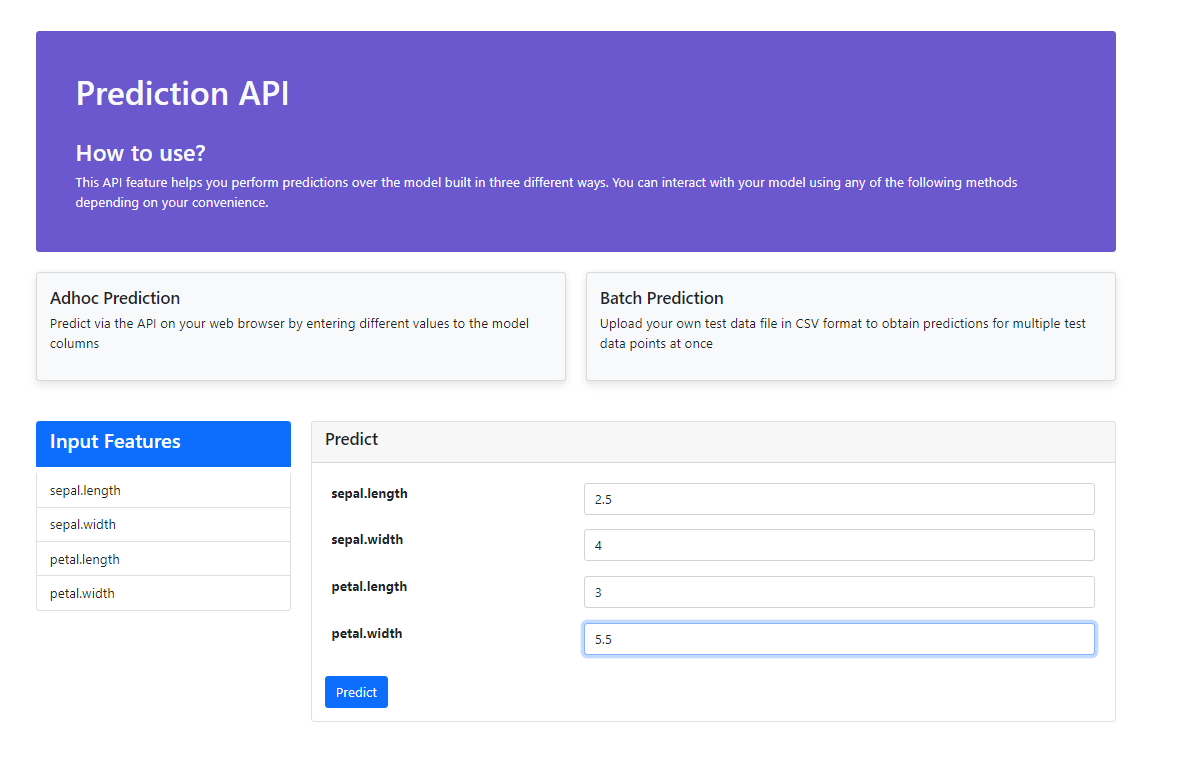
The Predict via Web displays a simple UI with which you can predict the output of the model for unseen data. The primary advantage of this feature is you do not need a dedicated development team or any knowledge of API integration to use this feature. There are two ways through which you can perform predictions.
- Adhoc Predictions
- Batch Predictions
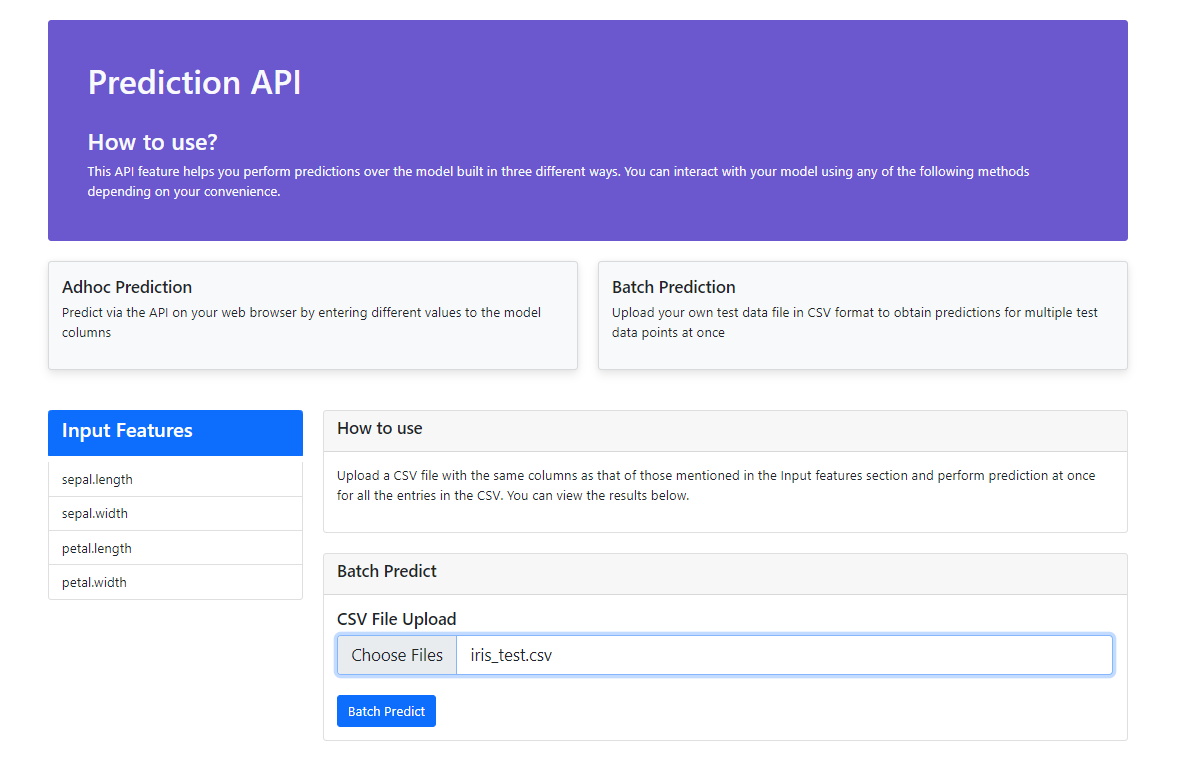
 The Batch predictions lets you perform multiple prediction at once. It lets you upload a set of data points as a CSV file format and predictions can be performed for all the entries in the CSV file as a single batch. While performing batch prediction, Please keep the following in mind
- The column names are same as those listed in the Input features section.
- The input file is in CSV format.
This page explains all the micro details to give a robust understanding and clean user testing ability. The API integration document gives a detailed picture of how the API is structured. It displays information such as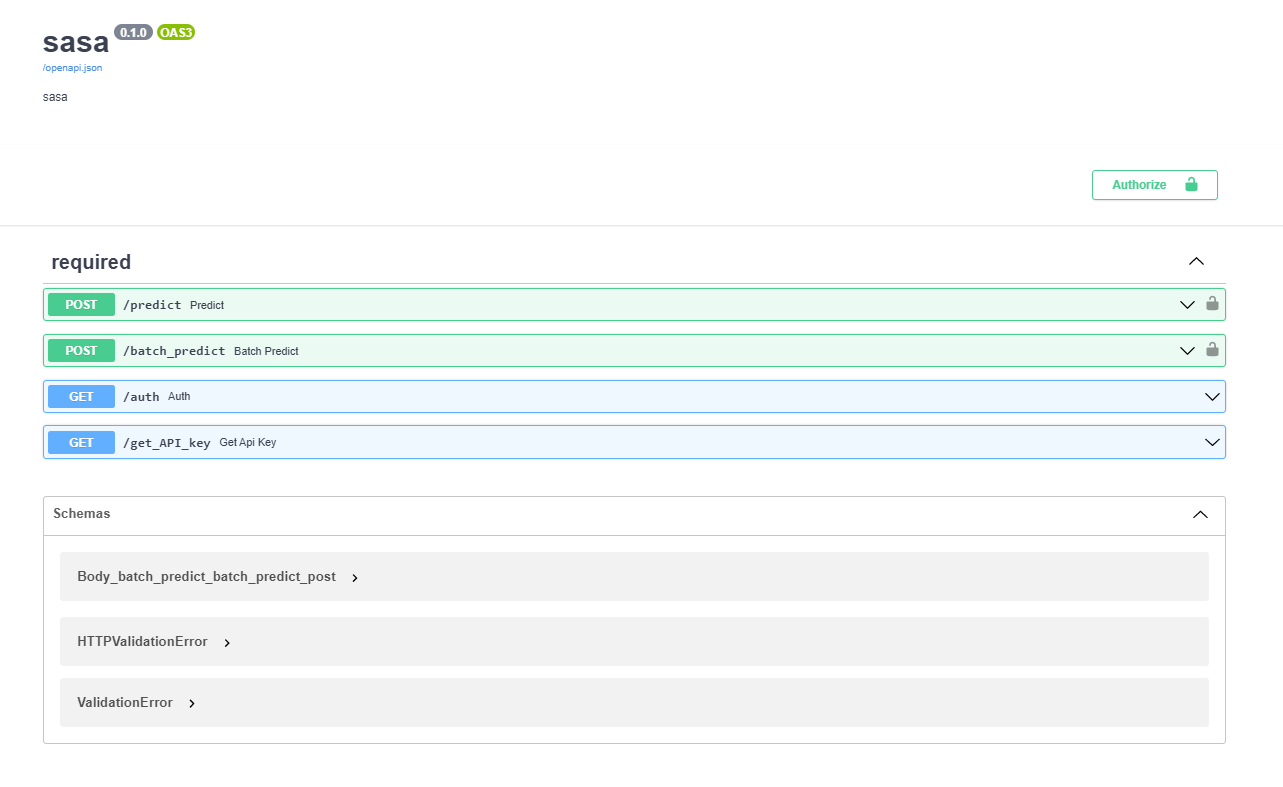
- The port in which the API is running
- The URLs available in the API
- The API Schemas